Create a profile
To create a profile, follow these steps:
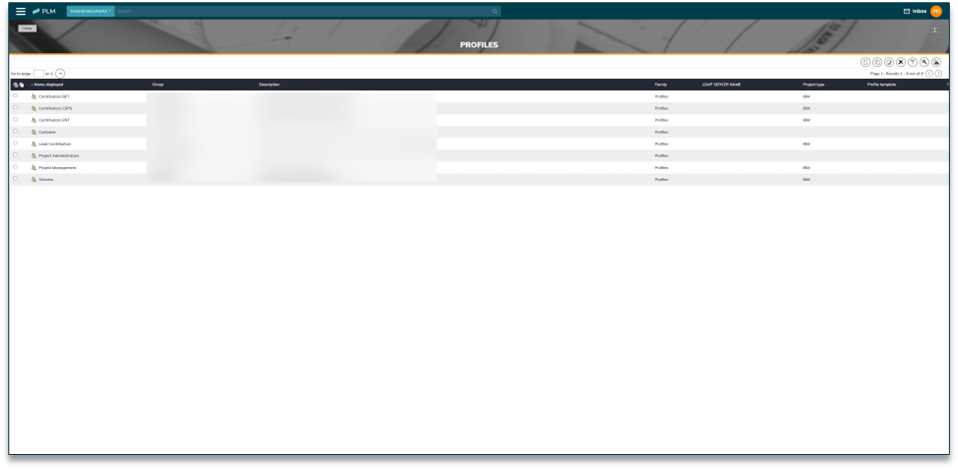
Go to the Profiles Section
-
Click on the Burger menu in the top-left corner.
-
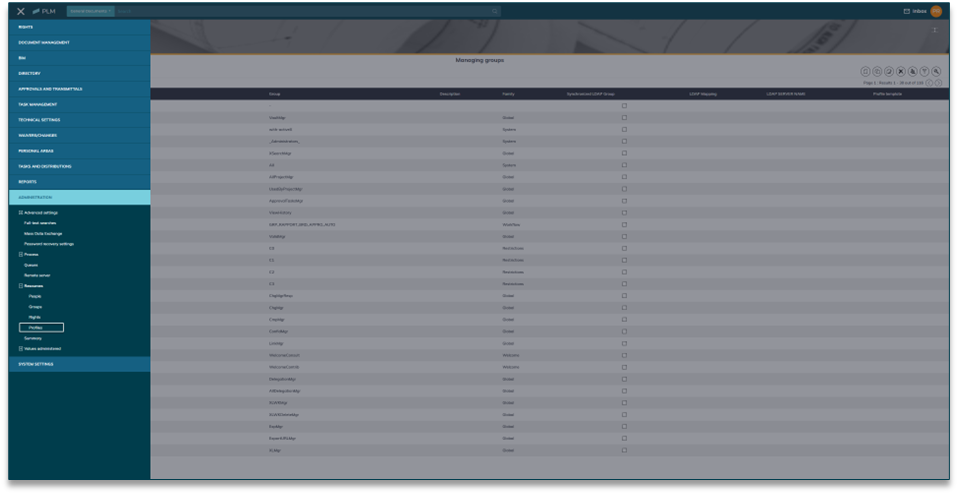
Go to Administration.
-
Select Resources.
-
Click on Profiles.
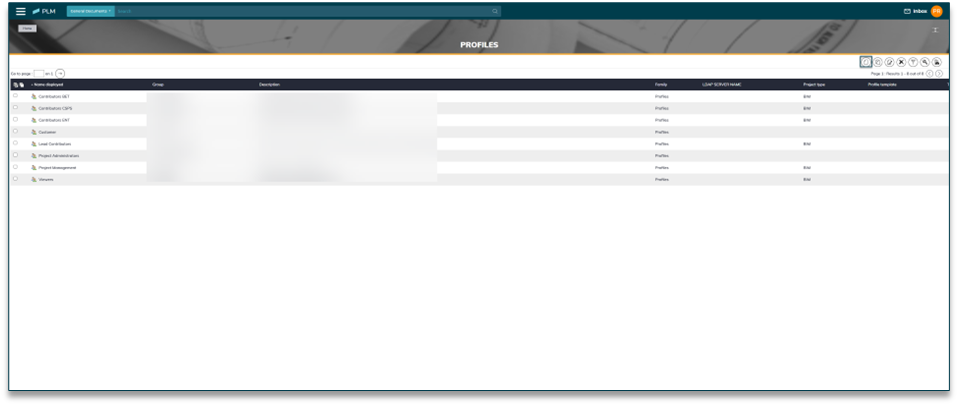
You will now see the Profiles page with a list of existing profiles.
Create a New Profile
-
Click on the Create button.
-
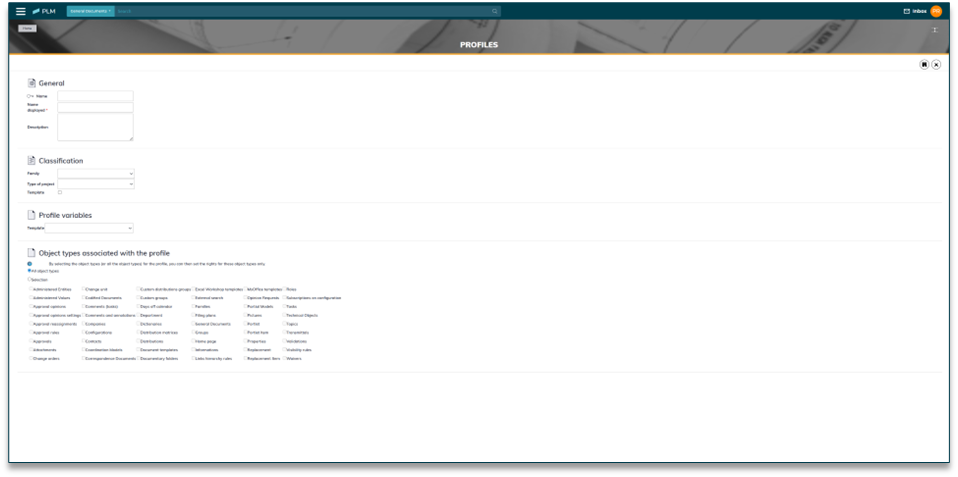
A profile form will open.
-
Fill in the Profile Form
-
General Section
-
Enter the Name and Display Name.
-
The Description field is optional.
-

-
Classification Section
-
Select a value in the Family field if needed.
-
This field helps filter profiles but is optional.
The family must already exist in the system. To create one, go to: Administered Values > System Lists > Families of Groups.

-
Profile Variables
-
If the Template button is checked the Profile variable won’t appear.
-
This section allows you to define variables for use in workflows or logic, but they are not currently used in PLM projects.
-
Select or enter variables that are relevant to the profile.
-
These variables can help customize behaviour for users with this profile.
-

-
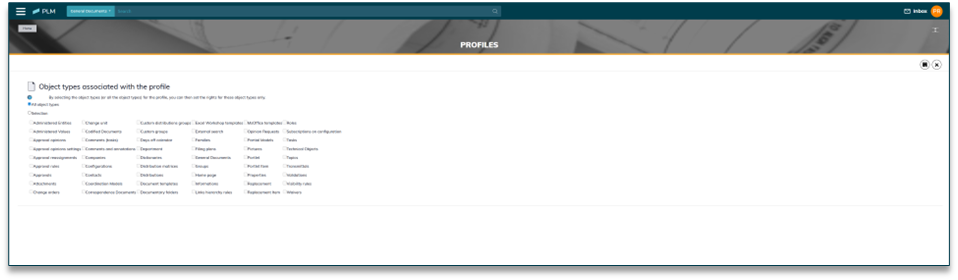
Object Types Section
-
Choose the object types you want to associate with the profile.
-
This limits the profile’s permissions to only those object types.
-
It simplifies rights management.
-
Save the Profile
-
After filling in the required fields, click Save.
-
The new profile will appear in the profile list.