The following article explains how to create a message or add a message during an upload operation and address participants.
To create a separate message, click in the Documents module on New - Message.
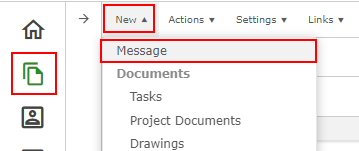
If you want to add a message to an upload process (e.g. drawings, project documents, ...), click on New as described above and then select the corresponding document type instead of Message.
A new window for entering messages will now open.
Just click on the message bar at the top of the input screen to open the message input.
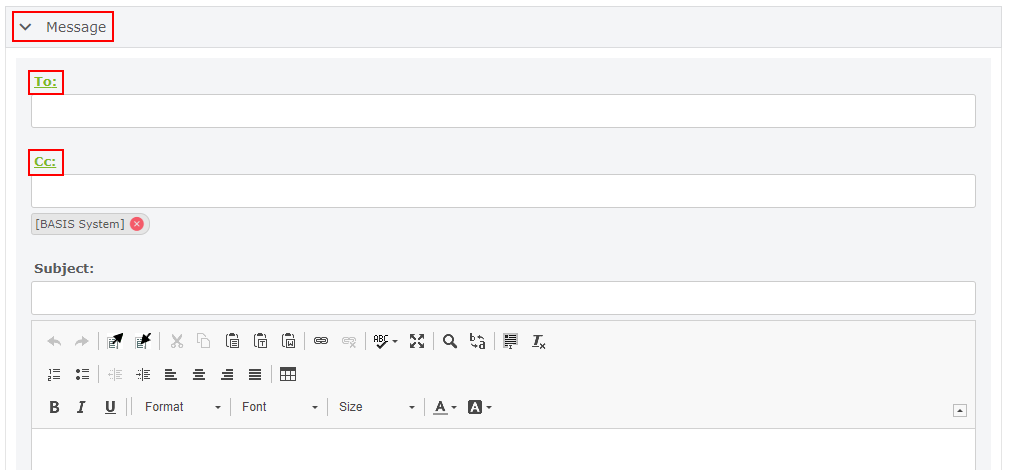
Enter your subject in the Subject field, in some projects or document types this may already be pre-filled.
Enter your message text in the text field. Please refrain from using images or icons here, as these are not displayed correctly by the HTML editor and may cause problems when sending messages.
If you want to add a member from the project room you can type in the name in the To field. If you click on the To field, the address book with a list of all members opens. You can search for the relevant member(s) in the Find Member field. If you search for a member of a certain company or group, you can filter the list of members with the Pre-selection.
It is possible that you will find project-specific recipients that are fixed for all messages, fixed recipients cannot be deleted.
For more information on addressing, see the following article: Addressing Members
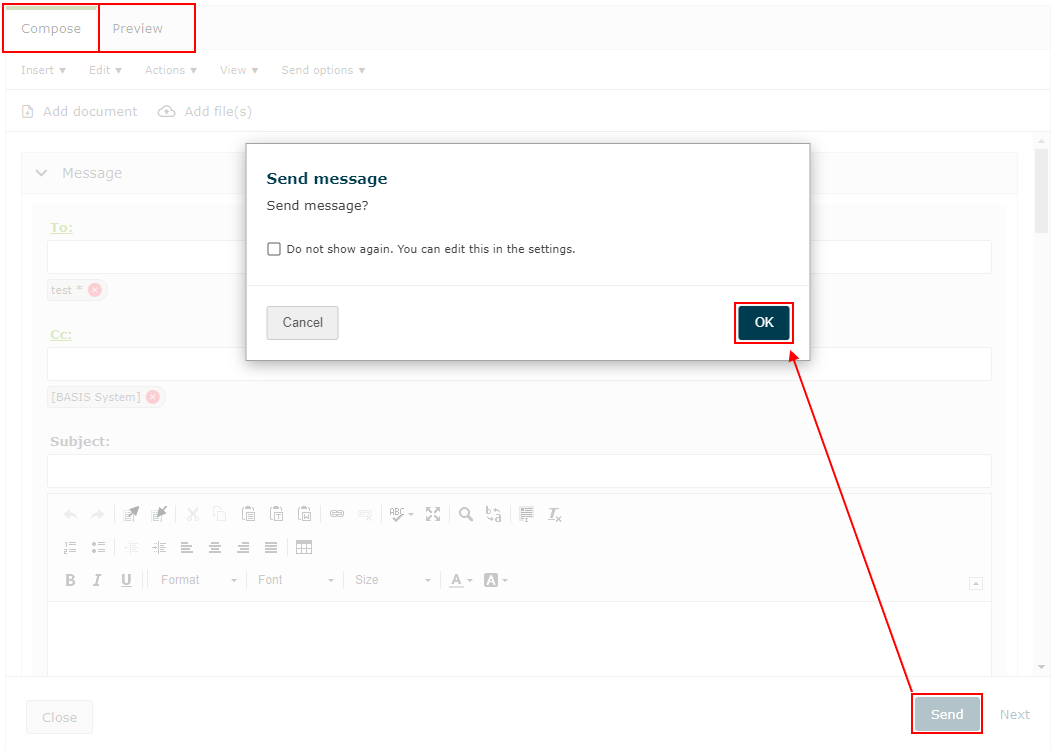
If you want to send your message, or the files with attached message, select Next or change the view from Compose to Preview. With both options the message is checked for completion. The opening window shows you the protocol with a list of all executed operations. You will then see the message as it will be sent out.
If you would like to change your entries or the document can not be sent because the entries are not complete, it is possible to return to Compose or click Back to edit your document. The message will not yet be sent.
Ensure that all entries are correct and press Send. Confirm sending by clicking OK:
When the sending protocol is completed and your input window closes automatically, your message has been sent.
If your message appears in italics in the Sent Messages filter, it was not sent. See the following article for more support: Sent message displayed in italics
Screenshots are an example. The interface of your platform may look different, but the processes remain the same.
Some of the functions shown may differ slightly depending on the release version of your project room.